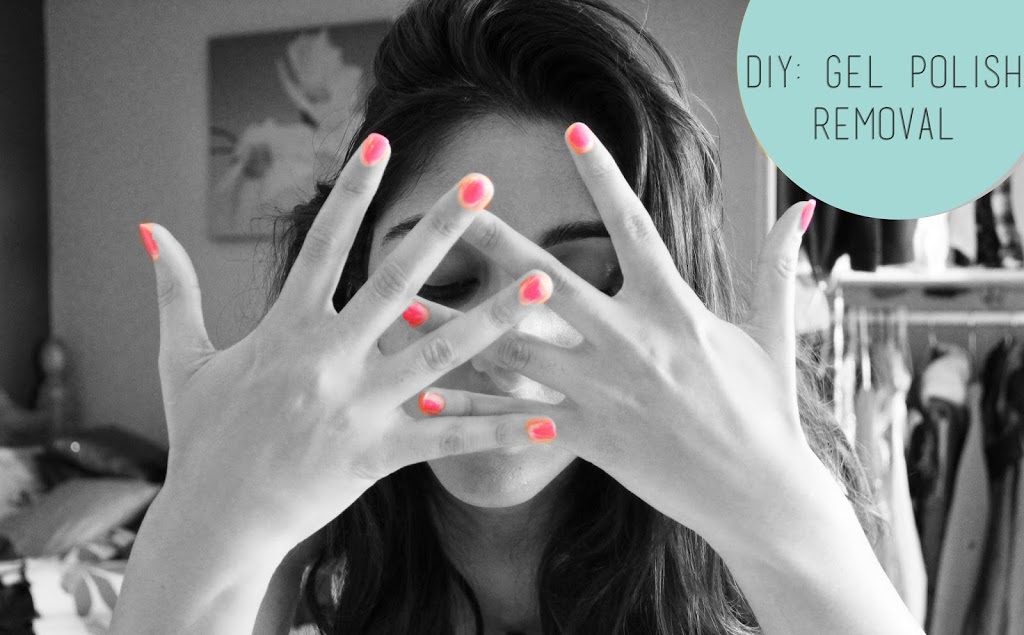
I recently got a manicure done and opted for the gorgeous looking gel nail polish. This is different to gel nails as no artificial nails are added to your own, so it works in a similar way to normal nail lacquer. The difference here is that after each layer has been applied, the nails are placed under a UV/LED lamp for about 2 minutes. 2-3 layers of polish are normally applied and after that a top coat and gel cleanser are added. You are then left with a lovely shiny, thick polish that lasts for around 14 days. There are many different types out there now such as OPI gel and Shellac. You can even buy the DIY gel kits for about £50. Getting it done in the salon is reasonably priced, usually anything between £15-£30; I got mine done in Miami when I went recently and it costed $25.
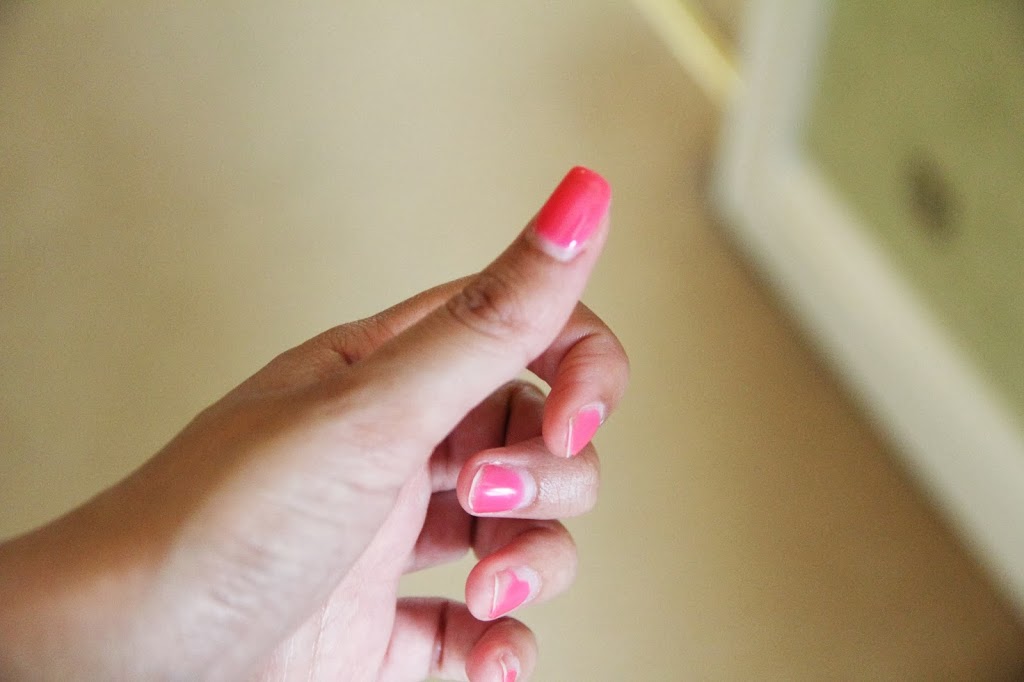
I had my polish on for about 10 days before the first one chipped (my fault), and then after 14 days or so the others started to chip naturally. They then don’t look so pretty. Instead of running to the salon and paying to have them remove the polish for me, I decided to do it myself at home using this very simple and effective method.
– Coarse nail file
– Cuticle shaper or wooden nail stick
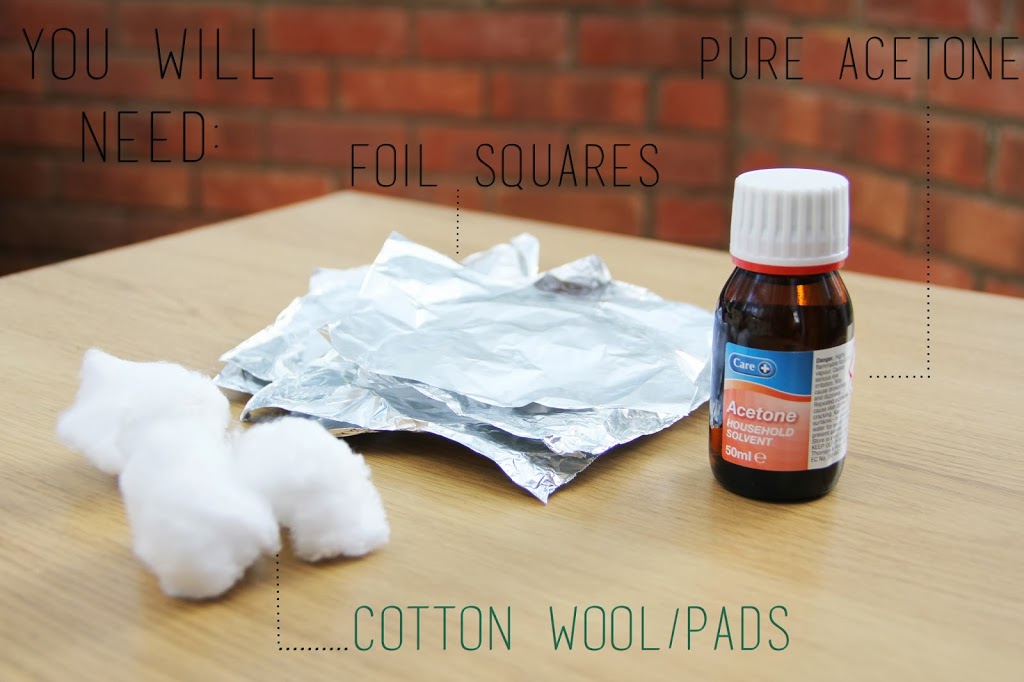
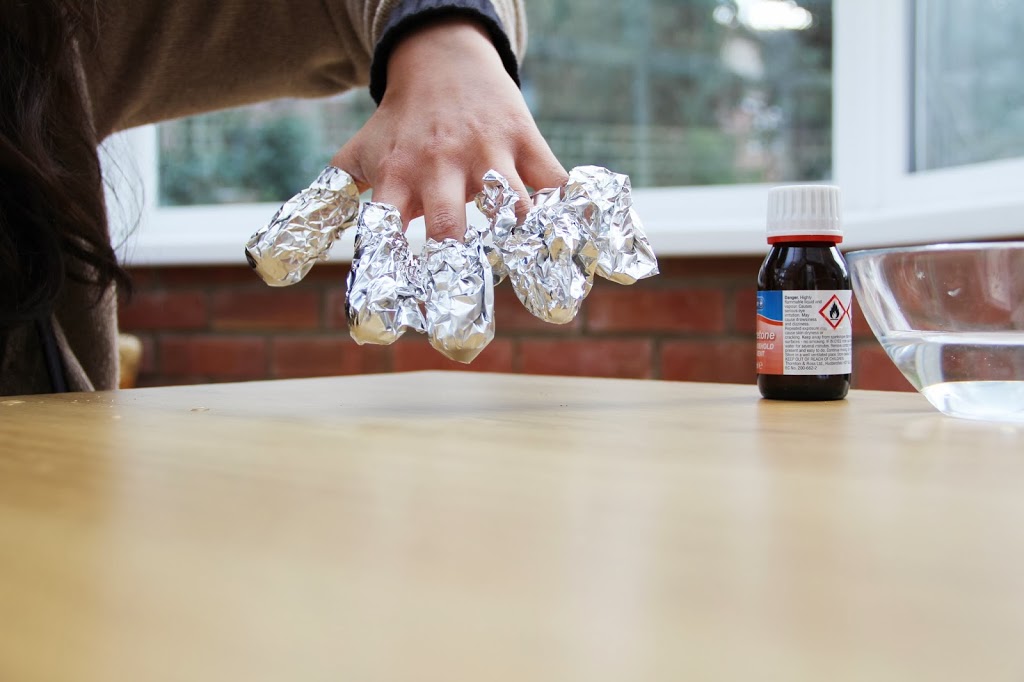
You will need 10 balls of cotton wool (or 10 cotton pads), and 10 foil squares, one for each finger. You will need to use 100% pure acetone as this is the most effective. Normal nail varnish remover may not work so well and ones that are acetone-free will definitely not work. If you use a remover with part acetone, you may have to repeat the process. You can purchase acetone from any pharmacy for about £2.
What to do
1. Using a coarse nail file, gently rub over the top of each nail. This loosens the top coat that is applied to your nails. In order to allow the acetone to work on the polish, it needs to be able to seep through this layer.
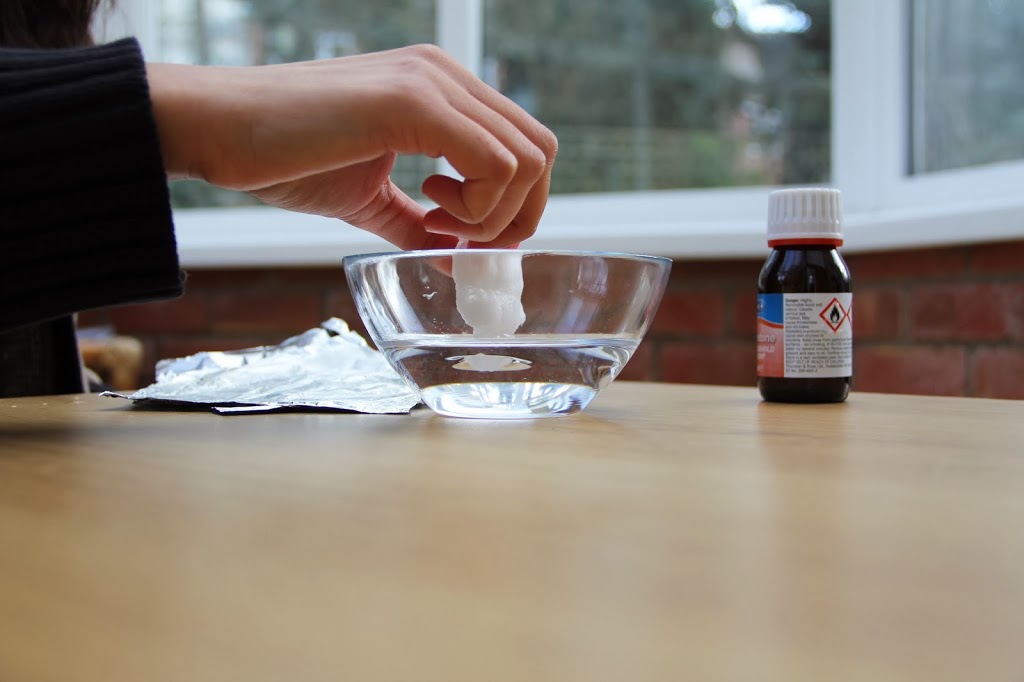
2. Soak a cotton ball in the acetone and lay that on the nail.
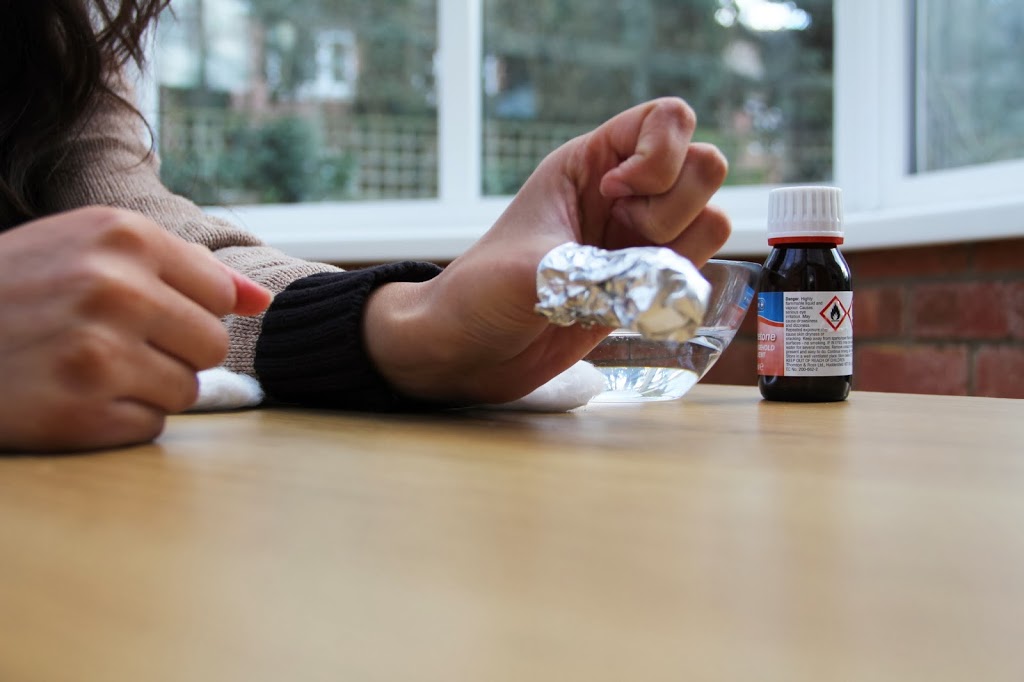
5. After approximately 20 minutes, gently remove the foil and cotton ball slowly wiping the nail as you remove it. The polish will have loosened so it may come off as you pull the foil off. Don’t be alarmed if you notice your fingers have turned a little white and have pruned, this is normal!
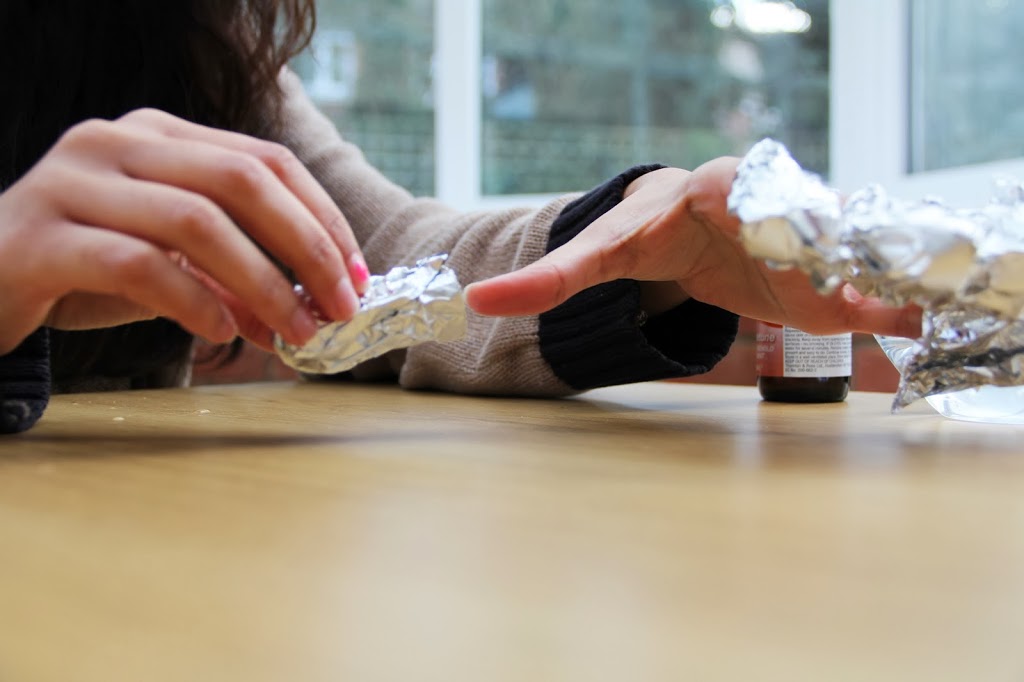
6. You should then be able to lift the polish up if you can’t wipe it away. If there is any gel polish left on the nail, use a cuticle stick or wooden nail stick to gently scrape the remainder off or you can soak it back in the foil cup for a few more minutes. One thing you want to avoid when taking this polish off is peeling it off- this will damage your nails. Wash your hands thoroughly after this treatment.
After this procedure, you will probably be left with a white spotty layer, this is the primer and clear coat that does not come up with acetone. This can be removed using a buffer nail file to smooth it out and over time it will grow out.
Check out my next post to find out how to take care of your nails after this treatment, allowing you to keep your nails healthy and strong.
Try it out!
Love Nimisha
xoxo

Another great post with some handy advice! Thanks Nimi!! xox
Author
Thank you for reading! 🙂 x